Oh girl, if you’ve got an unfinished basement just sitting there collecting dust and random boxes, you’re missing out on some serious potential – I mean, think about turning that dingy space into your dream hangout without breaking the bank on a full reno. I remember staring at my own basement a couple years ago, feeling totally overwhelmed by the exposed pipes and concrete floors, but then I rolled up my sleeves and started small with some paint and thrifted finds. It’s like that hidden gem in your house waiting for a DIY unfinished basement makeover to shine.
I put this article together because I’ve been there, scrolling through Pinterest late at night dreaming up ways to transform my space on a budget, and I wanted to share the inspo that’s actually doable for us regular folks. Back when I was fixing up mine, I spent weekends experimenting with lighting and storage hacks, and honestly, it changed how we use the whole house – no more avoiding the basement like it was a scary movie set. These ideas are all about simple, affordable tweaks that pack a punch.
Stick around, and you’ll snag 20 fresh ideas to spark your own project, plus some real-talk tips to make it happen without the stress. Trust me, your basement could be the coziest spot in the house by next weekend.
20 Genius DIY Unfinished Basement Makeover Ideas on a Budget
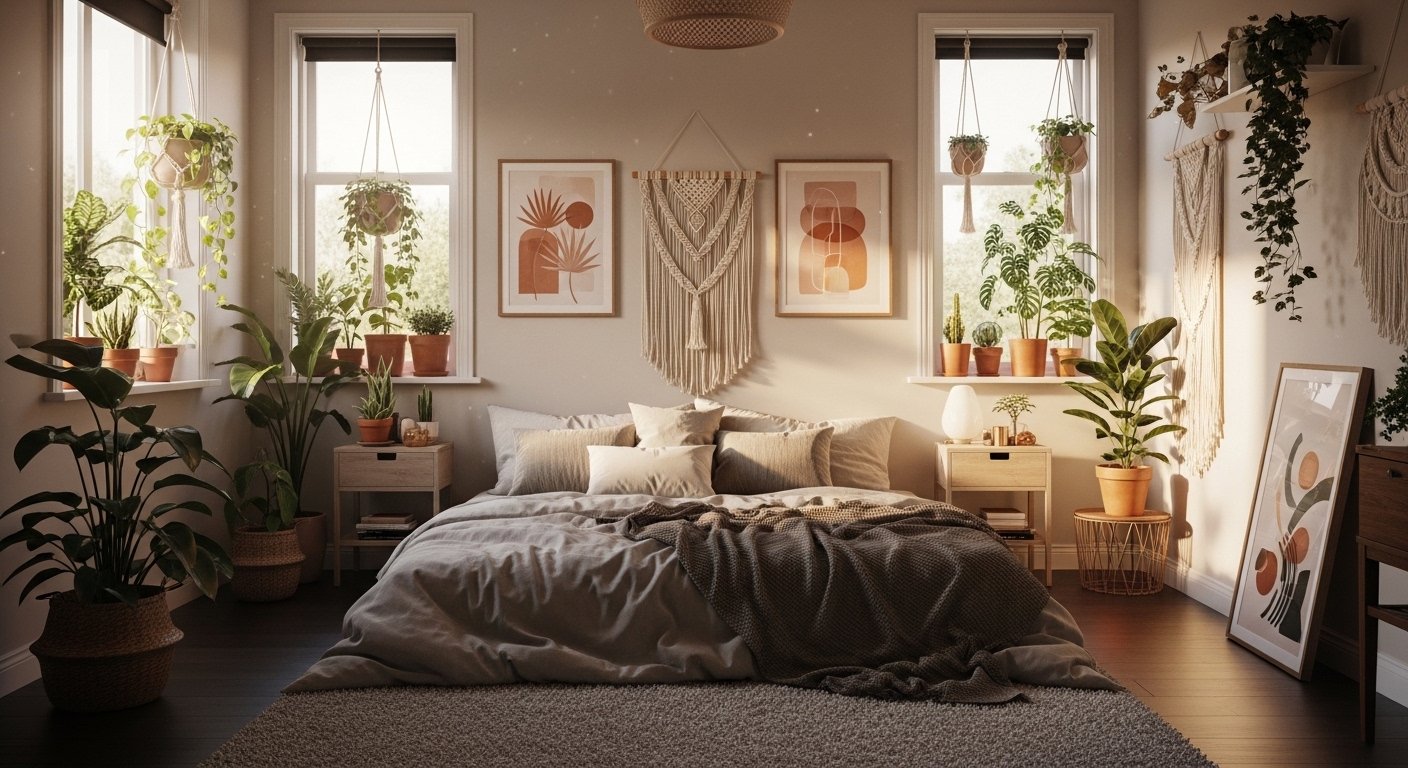
Twinkly Ceiling Light Bedroom
I absolutely love how this setup turns a basic basement bedroom into a magical retreat with all those fairy lights strung across the ceiling – it’s like sleeping under stars without leaving home. You could grab some affordable LED strings from the dollar store and hook them up in an afternoon; I did something similar in my guest room downstairs, and now everyone fights to stay over. Just imagine curling up there after a long day, right?
Before-After Flooring Revamp
Seeing this transformation from drab concrete to warm wood floors with added shelves makes me itch to grab my paintbrush again. It’s such a budget-friendly way to define zones in your unfinished basement – I remember painting my floors white one rainy weekend, and it instantly brightened everything up, though I did spill a bit on my jeans, oops. You might want to try peel-and-stick tiles if you’re not into the mess; they’re a game-changer for quick makeovers.
Cozy Couch Wall Art Lounge
This living room vibe with furniture arranged around a gallery wall screams comfy family nights in the basement. I tried hanging thrifted frames in mine, and it hid some ugly pipes perfectly – though one fell down the first time because I used cheap hooks, live and learn. You’ll feel like a pro designer once you mix in your own photos; it’s all about that personal touch to make the space yours.
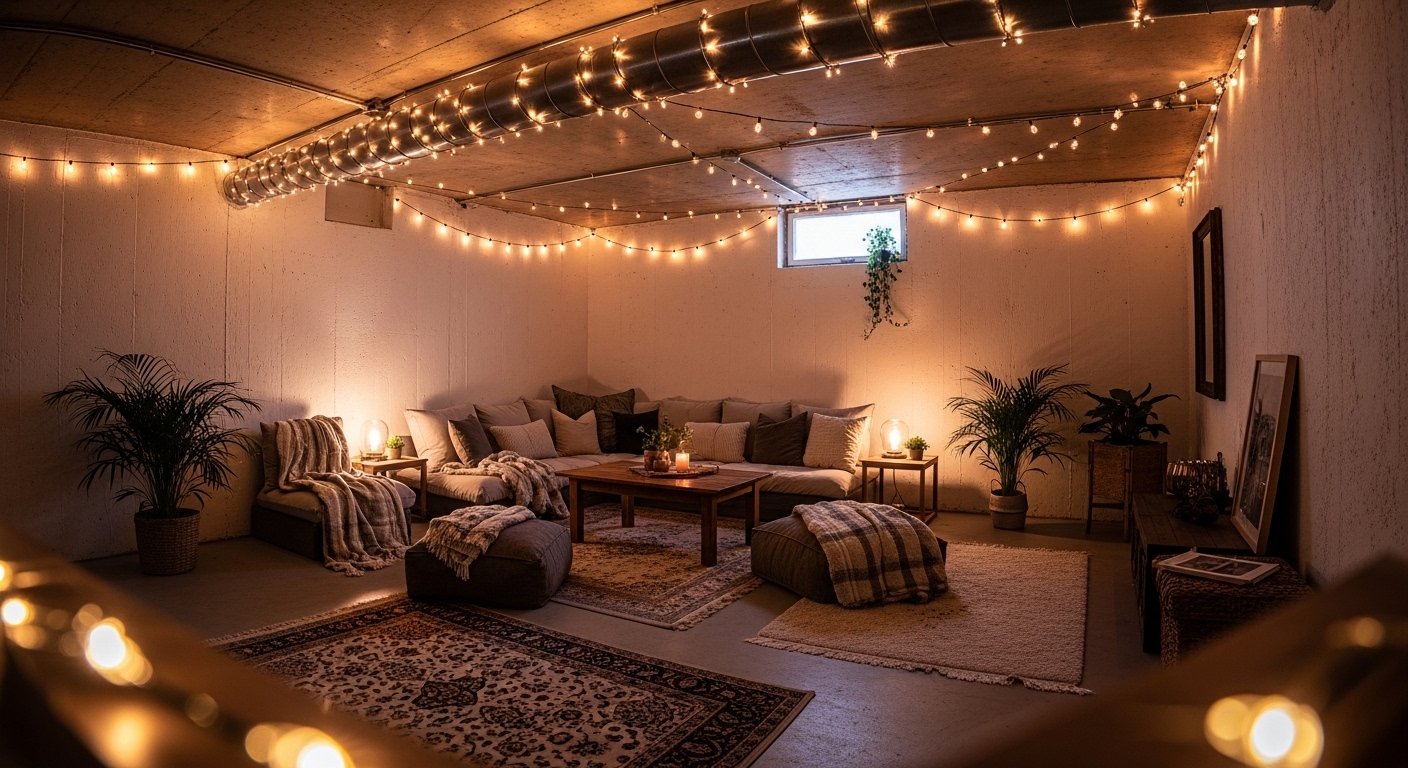
Hanging Lights Furniture Setup
Those dangling lights over the seating area add such a whimsical glow to an otherwise unfinished spot – perfect for reading or chilling with friends. Last summer, I hung similar ones in my basement, and they made movie marathons way more fun, even if the cords got tangled at first. You can source bulbs from garage sales to keep costs low; it’s an easy win for ambiance.
Book-Filled Shelving Nook
Turning basement shelves into a mini library with books and decor is genius for that intellectual vibe without fancy finishes. I stacked my old novels on similar setups, and it became my go-to spot for quiet time, though dust bunnies do sneak in sometimes. Imagine curling up there with a cup of tea – you’d never guess it’s an unfinished space.
Under-Stairs Bin Storage
These plastic bins tucked under the stairs are a smart way to organize chaos in your basement makeover. When I organized mine like this, it freed up so much floor space for yoga, but I had to label everything twice because I kept forgetting where stuff was. You could use colorful bins to add personality; it’s practical and cute.
Red Chair Reading Library
This empty library setup with bold red chairs and wooden floors feels so inviting for a basement corner. I set up a similar reading area once, splurging on thrifted chairs that were a bit wobbly but oh-so-charming. You’ll love how it transforms dead space into a cozy escape – just add your favorite books and you’re set.
Shelved Laundry Room Hack
Organizing your washer and dryer with wall shelves turns a utility area into something functional and pretty. I did this in my basement laundry spot, and it made folding clothes less of a chore, even if the shelves sagged a little from too much detergent. Try adding baskets for supplies; you won’t believe the difference it makes.
Teepee Tent Play Zone
A black and white teepee surrounded by storage bins creates the cutest kids’ play area in an unfinished basement. My niece went wild when I put one up for her visits, though it did tip over during a pillow fight once. It’s perfect if you want a fun, budget-friendly zone that hides toys neatly – you’ll get major aunt points.
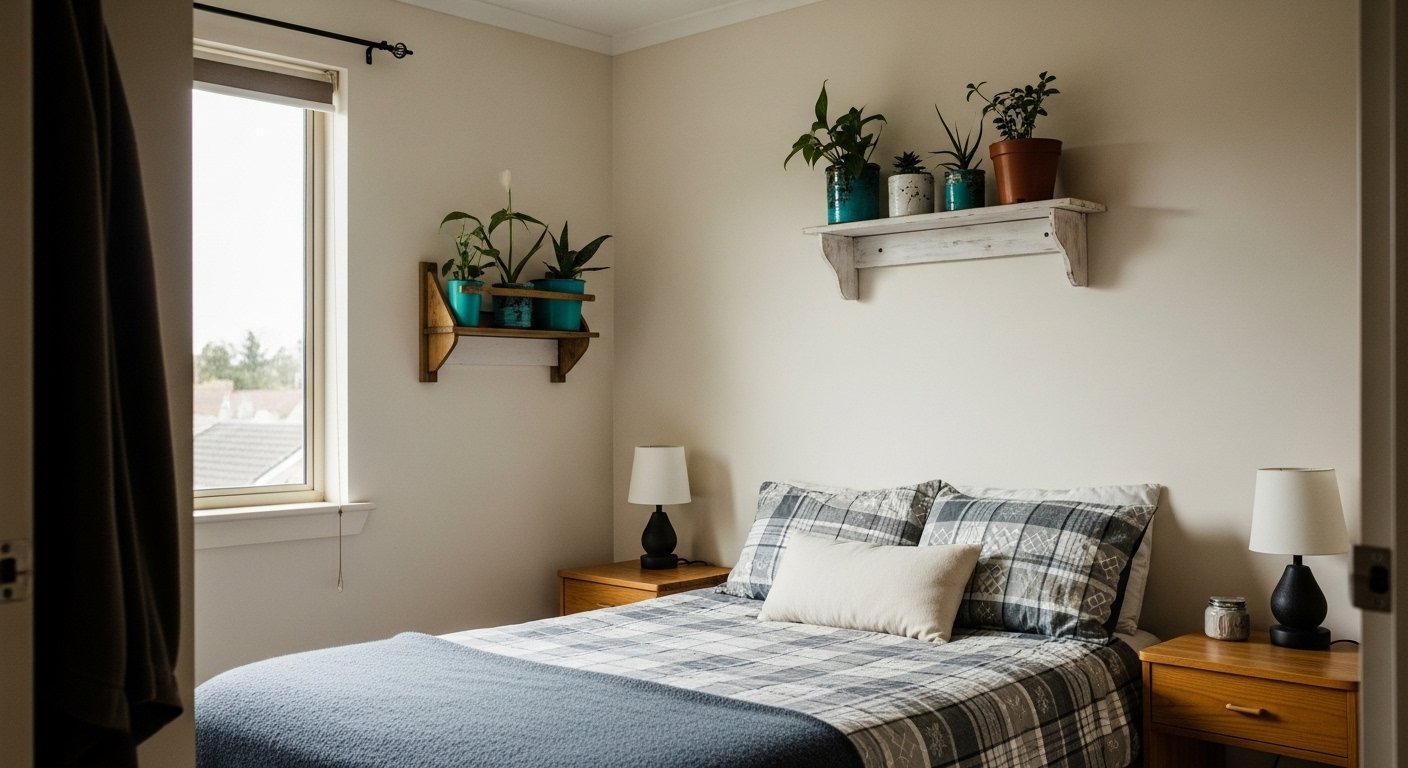
Exposed Wall Bedroom Vibes
Embracing concrete walls with simple white bedding and gray pillows keeps things minimalist and cool. I leaned into the industrial look in my basement bedroom, adding throw pillows that mismatched a tad but felt authentic. You could layer rugs for warmth; it’s an effortless way to own that unfinished charm.
Sink-Side Laundry Shelves
This setup with a sink next to the washer and wall shelves maximizes utility in a small basement space. When I arranged mine similarly, it streamlined laundry days, but I wish I’d added more hooks for hanging items. Give it a try with floating shelves; you’ll wonder how you lived without it before.
Art Studio Wall Gallery
Filling walls with paintings and adding couches turns your basement into a creative haven. I turned a corner of mine into an art spot, and it sparked so many late-night painting sessions, even if paint splattered the floor occasionally. You might start with your own doodles; it’s therapeutic and transforms the vibe instantly. Just don’t forget good lighting for those details.
Basket Under-Stairs Organizer
Using baskets and shelves under the stairs is a clever storage solution for clutter. In my basement, this hack hid holiday decor perfectly, though one basket overflowed during the holidays. It’s so practical for tight spaces – you’ll free up room for more fun stuff.
Warehouse to Cozy Remodel
The before-and-after of this empty warehouse turning into a polished space is super motivating for DIYers. I tackled a similar project, starting with white paint on the walls, and it felt like magic, despite the dust everywhere. You can do it in phases; begin with floors and build from there for that wow factor.
Vintage Laundry Kitchen Blend
An old-fashioned washer in a kitchen-like setup adds quirky charm to your basement. I mixed laundry with a mini kitchen area once, and it was handy for quick snacks, but the vintage vibe meant some quirky noises. Embrace the retro feel; you could thrift appliances to match.
Dark to Bright Reno
This budget reno from dark and dingy to inspiring light is exactly what unfinished basements need. My own makeover started with better lighting, and it banished the gloom, though I underestimated how much paint I’d need. You’ll be amazed at the change – it’s all about layers of light and color.
Blue Floor Laundry Shelves
Blue floors paired with shelving make laundry feel fresh and organized. I painted my laundry area blue on a whim, and it popped against the concrete, even if the color faded a bit over time. Add your own flair with patterned tiles; it’s a small tweak with big impact. You know, sometimes those imperfections make it feel more like home.
Stone Wall Furniture Lounge
Stone walls with arranged furniture create a rustic, cozy living room downstairs. In my space, I leaned into the stone for texture, adding pillows that clashed a little but worked somehow. It’s great for gatherings; you’ll love how it feels lived-in right away.
TV Couch Lighting Setup
Couches facing a TV with ceiling lights make for the ultimate basement media room. I set mine up for binge-watching, and it’s been a hit, though the remote always goes missing. String some lights like this; you can DIY the whole thing on a weekend budget.
Rug-Filled Shelving Room
Layering rugs and shelves in an empty room warms up the unfinished feel effortlessly. I scattered rugs in my basement to define areas, and it softened the echo, but one rug kept slipping until I added grips. It’s an affordable way to add coziness – try mixing patterns for fun. Oh, and don’t forget to vacuum under them occasionally, ha.
How to Actually Make This Work For You
Start by assessing your basement’s lighting because nothing kills a makeover faster than dim corners, so layer in string lights or affordable LEDs to brighten things up without major wiring – I always begin there to see the space’s potential. Then focus on zoning with rugs or painted lines on the floor to create distinct areas like a lounge or storage spot, which helps even if your ceilings are low or pipes are exposed, and don’t forget to measure everything twice to avoid buying the wrong size shelves. Finally, incorporate multi-purpose furniture like storage ottomans that double as seating, keeping your budget in check while maximizing functionality, and remember to seal any concrete for durability if you’re painting or adding flooring.
What if my basement has low ceilings?
Low ceilings can feel claustrophobic, but you can paint them a light color to create illusion of height, and avoid bulky furniture. I dealt with this by using slim profiles and mirrors to bounce light around – it worked wonders without any construction.
How do I handle moisture issues?
Moisture is a basement killer, so invest in a dehumidifier and seal walls with waterproof paint first. In my space, I added ventilation fans, and it kept things dry for all my DIY additions.
Can I do this without power tools?
Absolutely, stick to no-tool hacks like peel-and-stick options or tension rods for shelves. I avoided tools in my early projects by using command hooks and thrifted items – it’s totally doable and less intimidating.
What’s the best budget for starters?
Aim for under $500 by shopping sales and recycling what you have. I started small with paint and lights, building up as I went, and it didn’t feel overwhelming that way.